Field essay 04 / Equipment and personal readiness
Preparing the Field Kit
Build the kit around the position you will use, the weight you can manage and the conditions in which you can remain still.
Find out what will support the camera
A long lens is useful only if you can handle it comfortably. Before choosing equipment, ask about the hide shelf, viewing-slot dimensions, vehicle rails and available floor space. A tripod that works well on open ground may obstruct a narrow hide or transmit movement through a shared floor.
A beanbag can suit some vehicle and shelf positions, but check whether filling is supplied and whether carrying organic material across a border is permitted. Clamps and specialist heads need a compatible mounting point. Do not attach equipment to estate structures without permission.
Ask about typical working distances without treating them as a promise of proximity. A flexible zoom may be more useful than a very long fixed lens if animals can appear at different distances. Leave room for photographs of habitat. Carrying less equipment can reduce noise, fatigue and the temptation to reorganise your bag during an active observation.
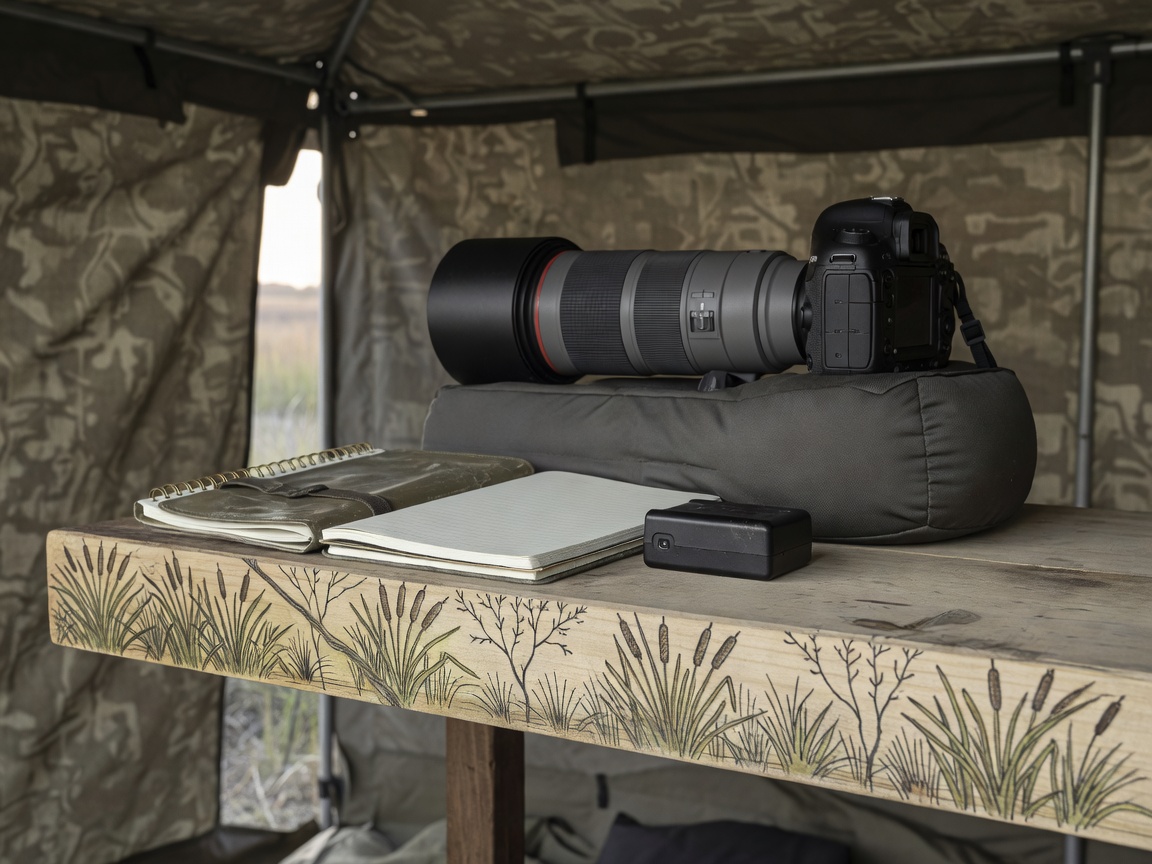
Practise the quiet operations at home
Set up autofocus modes, exposure controls and custom buttons before departure. Practise finding them without looking at the camera. Turn off unnecessary confirmation sounds and review lights, while retaining any safety-relevant functions. An electronic shutter may introduce rolling-shutter distortion or banding in some conditions, so test it rather than assuming it is always preferable.
Pack spare batteries and cards where they can be reached without emptying the bag. Remove noisy packaging in advance and use protective covers that do not flap in wind. Ask before opening a hide window or changing the position of a lens sleeve.
Protect equipment from rain and dust without treating weather sealing as waterproofing. Follow the manufacturer’s instructions. Moving cold equipment into warm, humid air can cause condensation; allow time for gradual acclimatisation in a suitable closed bag. Avoid lens changes in exposed dusty conditions when a different framing choice would solve the problem.
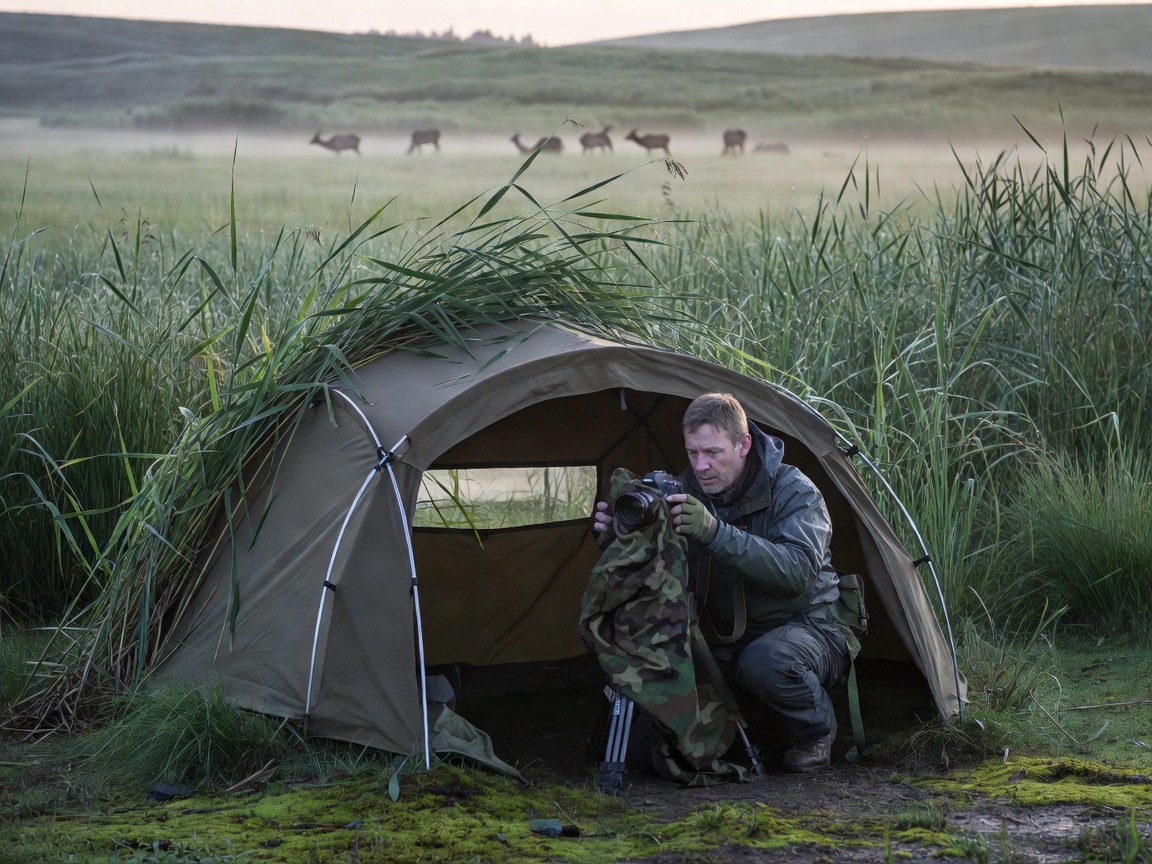
Prepare the person as carefully as the camera
Long periods of sitting can be demanding even when the walk to a hide is short. Ask about seats, toilets, drinking water, ventilation and opportunities to leave. Describe mobility, sensory or medical requirements specifically. A statement that a site is “easy access” does not establish whether a doorway, step or transfer will work for you.
Choose layers for the full session, not just the forecast afternoon temperature. Avoid clothing that rustles with every movement. Footwear should suit the actual surface, which may include mud, loose stone or vehicle steps. Insect protection and sun protection should follow reputable health advice and any restrictions at the site.
Seek individual advice from a qualified travel-health professional where appropriate. Destination, route, season and personal circumstances affect recommendations. This fieldbook does not provide medical advice. Carry required medication in a way consistent with border rules and keep essential items accessible during travel.
A preparation sequence that catches mismatches
- Confirm the working position. Obtain hide, vehicle and walking details before selecting supports or renting a lens.
- Check transport limits. Verify each carrier’s current baggage and battery rules, including small-aircraft segments and transfers.
- Test a complete session. Carry the packed bag, use the support and sit in comparable conditions long enough to notice discomfort.
- Build a power plan. Ask about sockets, charging hours and electricity reliability. Check current lithium-battery restrictions with the carrier.
- Plan image copies. Keep independent copies on separate devices or media when practical, and check files before reusing cards.
- Leave a clear itinerary. Share appropriate contact and emergency information with someone you trust, without publishing sensitive wildlife locations.
Make room for records, not just frames
A small notebook can hold species identifications, weather observations, guide explanations and details of managed attractions. Record uncertainty honestly. If bait, supplementary light or a captive setting materially affects an image, retain that information for accurate captioning and any competition or publication requirements.
Backups deserve a routine that you can follow when tired. A file visible on a screen is not proof that every copy is intact. Check representative files, keep copies separate where feasible and avoid deleting the only original to make room for the next session. Internet access may be too limited for cloud uploads.
Finally, pack a workable alternative to the image you have imagined. A shorter lens, a notebook and patience can document an animal within its habitat when a tight portrait is not possible. Equipment should help you adapt to the encounter, not become an argument for moving closer.
Source notes: consult IATA’s passenger battery information, your carrier’s current rules and TravelHealthPro for travel-health information. Product manuals remain the appropriate source for equipment limitations. No equipment brand is endorsed here.